Last updated November 17, 2026
Free written scope consultation - allowances, timeline, and change-order rules on paper before a single trade is scheduled
Driveway & Pavers Maintenance Checklist for Downey Homeowners
A paver driveway that looked perfect at install can show joint erosion within 18 months in Downey. Not from weight load, and not from bad workmanship, but from the oscillating heat between 55°F nights and 95°F afternoons that pulls polymeric sand out of the joints season after season. Most maintenance advice you’ll find online was written for a four-season climate with a hard freeze. Downey doesn’t have that. Downey lots fail in their own way: dry summers that bake the surface, winter rain that finds every open joint, and mature street trees whose roots quietly lift pavers from below. This checklist targets those actual failure modes, in the order they show up.
Quick Answer
Paver and driveway maintenance in Downey comes down to three checks done on a Southern California schedule: inspect joint sand twice a year (before the winter rains and again in late spring), watch for root lift and settling along the edges nearest mature trees, and reapply sealer every few years depending on whether the pavers are concrete, clay, or travertine. Skipping the joint sand check is what turns a cosmetic problem into a structural one, because open joints let water under the base and that’s where settling begins.
Styles & brands we work with
- Kitchen remodeling
- Bathroom remodeling
- Home additions & ADU
- Roofing
- Windows & doors
- Driveway & pavers
- Fence
Table of Contents
- The Downey Seasonal Maintenance Schedule
- Joint Sand: The Twice-a-Year Inspection
- Tree Root Intrusion in Older Downey Neighborhoods
- Sealer Selection by Paver Material
- What Oil Stains Reveal About Your Sub-Base
- DIY Re-Sanding vs. Professional Paver Resetting
- Concrete, Pavers, or Repair: What Holds Up in Downey
- Common Mistakes to Avoid
- When to Call a Professional
- Frequently Asked Questions
- The Bottom Line
The Downey Seasonal Maintenance Schedule
Downey runs two seasons that matter for hardscape: a long dry stretch from roughly late spring through fall, and a wet window in winter. That split, not a generic quarterly checklist, is what should drive your maintenance calendar. A paver system expands and contracts daily as surface temperatures climb well past the air temperature in direct sun, and the joints take the wear. Then the winter rains arrive and test every joint you didn’t top off.
Here’s the schedule we recommend for Downey properties:
- Early fall (before the rains): Sweep the entire driveway, inspect joint sand depth, and top off any joints that have dropped below the paver chamfer. This is the single most important pass of the year.
- Mid-winter (after a heavy rain): Walk the drive and look for standing water, puddling at the low corner, or sand washed out at the edges. Note where water sits, because that’s where the base is settling.
- Late spring: Second joint sand inspection, pull weeds from joints before they seed, and check the sealer’s condition. If water no longer beads on the surface, the sealer is due.
- Every few years: Full re-seal, timed to dry weather so it cures without rain interference.
Notice what’s missing: there’s no spring freeze-thaw check, because Downey doesn’t have one. What it does have is intense UV and a wide daily temperature swing, and both attack sealer and joint sand rather than the pavers themselves. The pavers are usually fine. The sand and sealer are what need watching. If your driveway is showing bigger problems than maintenance can solve, our driveway & pavers page covers installation and replacement in detail.
Joint Sand: The Twice-a-Year Inspection
Joint sand is the most neglected component of every paver driveway in Downey, and it’s the one that matters most. Polymeric sand locks the pavers together, keeps them from shifting under tire load, and blocks water from reaching the base. When it erodes, the pavers start to move independently, and moving pavers grind against each other and open gaps that let more water in. The cycle accelerates from there.
Here’s how to check your joints properly:
- Look at the depth. Joint sand should sit roughly level with the paver surface or just below the chamfer. If you can see a clear groove between pavers, the sand has dropped.
- Probe with a key or screwdriver. Gently press into a joint in a high-traffic area like the apron near the street. If it gives easily, the sand is loose or gone.
- Check the edges first. Sand washes out of the perimeter and the low side of the drive faster than the center. Those are your early warning zones.
- Watch for sand piles. If you find sand accumulated at the bottom of the driveway or in the gutter after a rain, it came from your joints.
Topping off joint sand is a job most homeowners can handle: sweep dry polymeric sand into the joints, compact it, and mist it lightly to activate. What you shouldn’t do is let it go for a couple of years and assume nothing happened. In our experience, the driveways that need full paver resetting are almost always the ones where joint sand was ignored. One material note: engineered paver systems from Belgard, Unilock, Techo-Bloc, Tremron, and Cambridge Pavers are manufactured to consistent dimensions, which makes joint sand behavior predictable. Commodity concrete products are not, and their joints open faster.
Tree Root Intrusion in Older Downey Neighborhoods
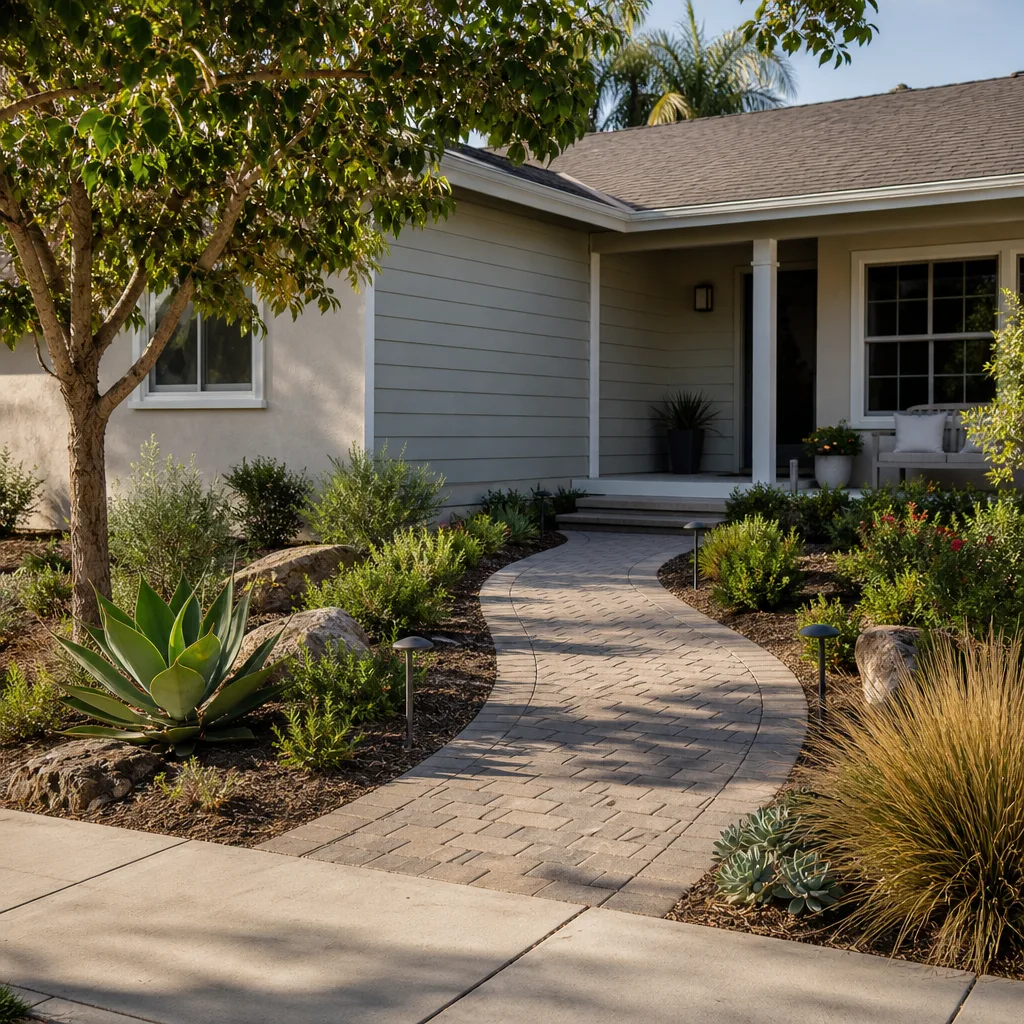
Mature street trees are part of what makes Downey neighborhoods feel established, and they’re also one of the top causes of paver damage we see. Ficus and liquid amber are the usual suspects. Both send surface roots outward looking for water, and a paver driveway over a compacted base is a perfect path. The roots don’t break pavers. They lift them, slowly and unevenly, and the lift shows up as a gentle hump or a wave in the surface.
Early root intrusion looks like this:
- A subtle ridge or crown in the driveway, usually on the side nearest the tree, that wasn’t there before.
- Pavers rocking slightly when you walk on them, or a hollow sound when tapped.
- Widening joints in a line that traces roughly toward the tree trunk.
- Separation at the edge restraint where the drive meets the yard or planter.
Catch it at step one or two and the fix is often minor: lift the affected pavers, cut the offending root properly, and reset the base. Catch it at step three or four and you’re looking at a larger reset, plus a conversation about root barriers. Left alone long enough, roots can also crack the concrete edge restraint that holds the whole system together, and that’s when the repair gets expensive.
If you’ve got a tree close to the drive and you’re also planning perimeter changes, our fence installation page covers how root zones and fence footings get coordinated so the two projects don’t fight each other. For anything structural near the house itself, including hardscape tie-ins around an addition, the team at Construction Downey handles the full scope.
Sealer Selection by Paver Material
Not all pavers want the same sealer, and Downey’s high UV exposure makes the wrong choice obvious within a season or two. Film-forming sealers that look great on concrete pavers can turn cloudy or yellow on light-colored clay. Penetrating sealers protect travertine without a plastic sheen. Getting this right is the difference between a driveway that looks maintained and one that looks coated.
Here’s how we match sealer to material:
- Concrete pavers: A quality acrylic film-forming sealer gives the best protection against UV fading and stains, and it holds joint sand in place. Expect to reapply every few years depending on sun exposure and traffic. Matte or low-sheen finishes age better than high-gloss under Downey sun.
- Clay pavers: Clay is denser and more colorfast, so it needs less sealing for UV reasons. A penetrating sealer is usually the better call because it protects without building a film that can trap moisture. Avoid dark-tinted sealers; clay’s color is the point.
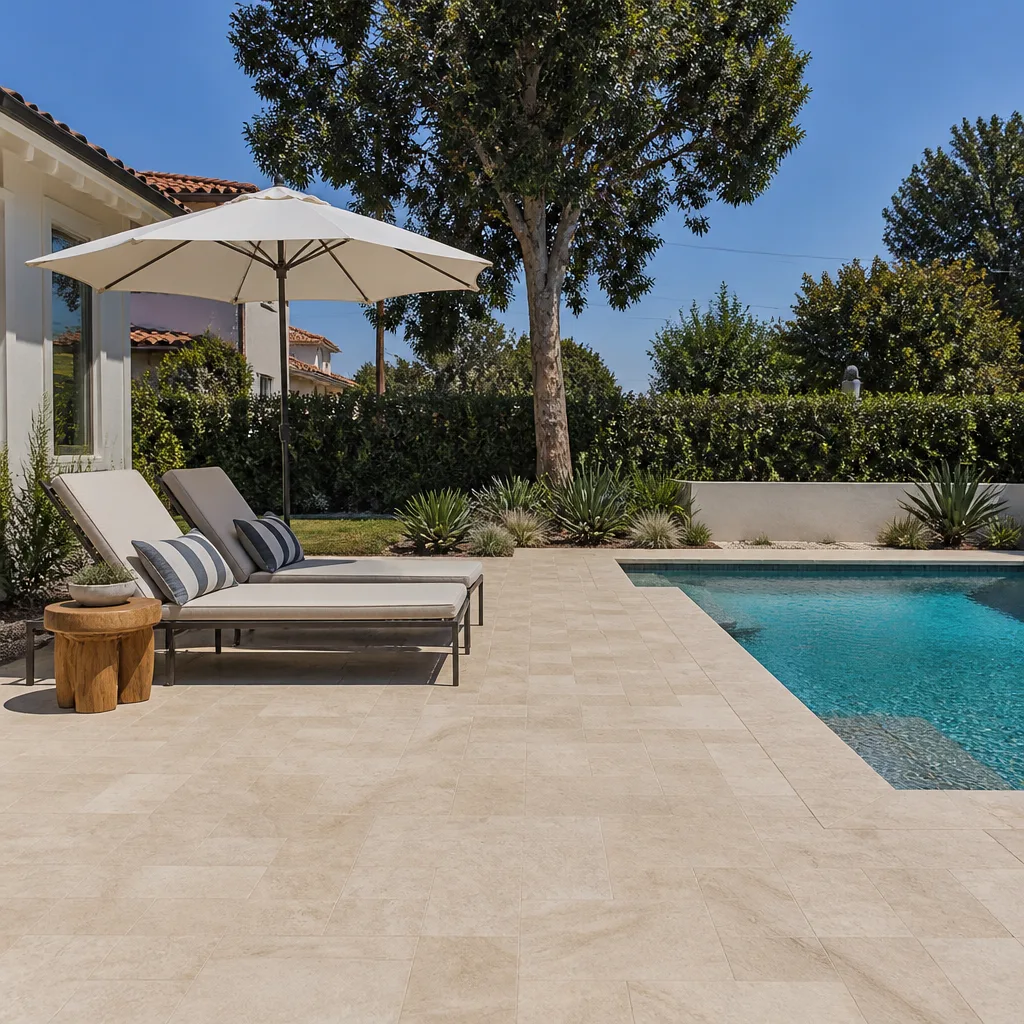
- Travertine: Travertine is porous and wants a penetrating sealer, always. Film-forming products on travertine can trap moisture and cause spalling. Reapply more often on horizontal surfaces in full sun.
Two rules apply across all three: seal only when the pavers are completely dry and the forecast is clear for a couple of days, and never seal over joint sand that hasn’t fully cured. Sealing too early is the most common cause of a hazy finish. If you’re not sure what material you have, a contractor can identify it in a few minutes. When the driveway is beyond sealing, our team at Construction Downey can talk through replacement options in engineered systems rather than commodity concrete. For larger property changes, our home additions & ADU page shows how hardscape and structure get planned together.
What Oil Stains Reveal About Your Sub-Base
An oil stain on a paver driveway is normal. Cars drip. What’s not normal is an oil stain that keeps spreading, or one that appears in a spot where no car parks. In older Downey homes, oil staining is often the first visible clue that the sub-base beneath the pavers has become saturated, and that’s a structural question, not a cosmetic one.
Here’s what different stain patterns tell you:
- A tight, dark stain that stays put: Usually just surface oil on the paver face. Clean it, seal it, move on.
- A stain with a soft, spreading edge: Oil is migrating through the joint sand into the bedding layer. The base is beginning to hold moisture and oil together, which weakens it.
- Stains that reappear after cleaning: Oil has soaked into the base and is wicking back up. This is the point where cleaning the surface won’t solve it.
- Stains plus settling or rocking: The base under that area is compromised. Oil and water together soften compacted base material, and once it’s soft, pavers move.
On an older Downey property, a driveway that’s been parked on for decades can accumulate enough oil in the base to make spot repairs pointless. The fix is to lift the affected pavers, remove and replace the saturated base layer, recompact, and reset. That’s a real repair, not a cleaning job, and it’s better done before the settling spreads to the rest of the drive. If your driveway is at that stage, don’t patch over it. The base is the structure.
DIY Re-Sanding vs. Professional Paver Resetting
The line between “I can do this myself” and “this needs a contractor” is clearer than most homeowners think. Re-sanding joints is homeowner territory. Resetting pavers that have lifted or settled is not, and there’s a practical reason beyond skills: improper resetting can void the material warranty on engineered paver systems from Belgard, Unilock, Techo-Bloc, Tremron, and Cambridge Pavers.
Re-sanding is a reasonable DIY job when:
- The pavers are flat and stable, and only the joint sand has dropped.
- Less than about a quarter of the surface needs sand.
- The base under the affected area is firm, with no rocking or settling.
Call a licensed contractor when:
- Pavers are rocking, lifted, or visibly out of plane.
- Root intrusion has raised a section near a tree.
- The edge restraint is separating or cracked.
- Water is pooling or the base is saturated.
Resetting means lifting pavers, assessing and often rebuilding the bedding layer, recompacting, and re-installing to the manufacturer’s spec. Do it wrong and you’ve got a surface that looks fixed but fails again in a season, and you may have weakened the warranty in the process. Our technicians have up to 11 years of experience with paver systems, and we can tell you in one visit which side of that line your driveway is on.
Concrete, Pavers, or Repair: What Holds Up in Downey
Homeowners ask us constantly whether they should repair concrete or switch to pavers. The honest answer depends on what’s failing. In Downey’s climate, the enemy of concrete is thermal movement and tree roots, the same two forces that affect pavers. The difference is repairability. One cracked concrete slab usually means a patch or a pour that never quite matches. One lifted paver means lifting one paver.
Here’s a quick comparison:
- Concrete: Lower upfront cost, fewer joints to maintain, but cracks are permanent and tree root lift is hard to correct without tearing out sections. Color and finish never match on repairs.
- Pavers: Higher material cost, more joint maintenance, but individual units lift and reset, root damage is localized, and engineered systems from brands like Belgard and Unilock hold color under UV far better than poured concrete.
- Repair vs. replace: If less than roughly a third of the drive is affected and the base is sound, repair is usually the right call. Past that, resurfacing over a failing base just postpones the problem.
Whatever you choose, the base matters more than the surface. A paver system on a properly compacted, drained base will outlast a concrete pour on a bad one. The material is the visible part; the base is the job.
Common Mistakes to Avoid
- Waiting until spring to check joint sand. By the time the rains are over, water has already reached the base. The fall check is the one that protects your driveway through winter.
- Pressure washing at full blast. High pressure strips joint sand out of the joints faster than anything else. Use a fan tip on low pressure, or better, wash by hand near the edges.
- Sealing a dirty or damp surface. Sealer traps whatever is on the paver, including moisture. It has to be completely dry and clean, or you’ll seal in a haze you can’t remove without stripping.
- Ignoring a single rocking paver. One rocking paver works its neighbors loose. Fix it early and it stays a one-paver job.
- Cutting tree roots without knowing what you’re doing. Cutting the wrong root can destabilize a mature tree or send the root system into overdrive. Get an assessment before the saw comes out.
- Resetting pavers without the right base prep. Dropping a paver back into a soft spot without recompacting the base guarantees it lifts again. This is also where warranties get voided.
- Choosing sealer by price instead of by paver material. The wrong sealer for travertine or clay does real damage that costs more to fix than the sealer saved.
When to Call a Professional
Call a contractor when the problem is under the surface, not on it. Rocking pavers, a visible hump near a mature tree, edge restraint separating from the drive, standing water after rain, or oil stains that return after cleaning all point to base or root issues that re-sanding won’t fix. The same is true if you’re seeing cracked pavers in a pattern, since that usually means point loading from a settled base. And if you’re considering replacement rather than repair, get a written line-item estimate before you decide anything, because the surface material is only part of the cost.
Construction Downey offers free estimates in Downey. Call (844) 312-0107. We answer 24/7. Fast dispatch from 7am to 7pm, Sunday through Friday.
Frequently Asked Questions
Inspect joint sand twice a year, in early fall before the winter rains and again in late spring, and top off any joints that have dropped below the paver surface. Downey’s dry summers and wet winters erode polymeric sand faster than a four-season climate, so twice-yearly inspection is the right cadence even though you won’t need to add sand every time you check. Call (844) 312-0107 for a free estimate if you’re not sure whether your joints need sand or a reset.
Tree roots are the most common cause of paver lift in older Downey neighborhoods, especially near mature ficus and liquid amber. Surface roots travel outward for water and lift pavers gradually from below, which shows up as a subtle ridge or wave rather than a crack. A contractor can lift the affected pavers, assess the root, and reset the base without destabilizing the tree. Call (844) 312-0107 for a free estimate.
Paver repair costs in Downey depend on how many square feet are affected and whether the base needs rebuilding. Spot repairs that involve lifting and resetting a few pavers are at the low end, while repairs that require removing saturated base material and recompacting run higher. We give written line-item estimates so you can see exactly what’s being done, and estimates are free. Call (844) 312-0107 to schedule yours.
No. The written estimate sets the price for the scope it describes, and if the crew finds something the estimate didn’t account for, we stop and talk to you before anything changes. That’s why the estimate process includes an actual look at the base and joints, not just a measurement from the street. Call (844) 312-0107 for a free estimate.
You can, but only at low pressure with a wide fan tip, because high pressure strips polymeric sand out of the joints and undoes the work you did maintaining them. Near the edges and around the perimeter, wash by hand. If your joints are already low, re-sand before you wash, not after. Call (844) 312-0107 if you’d rather have the driveway assessed first.
Use a penetrating sealer on travertine, never a film-forming acrylic, because travertine is porous and a film can trap moisture and cause spalling. Under Downey’s high UV, reapply more often on horizontal surfaces in full sun. Concrete pavers take a film-forming sealer well, and clay pavers usually do better with penetrating products. Call (844) 312-0107 for a free estimate if you want help identifying your material.
The Bottom Line
Downey driveways don’t fail because of bad installation. They fail because maintenance advice written for freezing climates doesn’t match what happens here. The two forces doing real damage are the daily thermal swing that grinds joint sand out and mature tree roots that lift pavers from below. Inspect joint sand twice a year on a fall-and-spring schedule, watch the edges near trees, match sealer to paver material, and treat spreading oil stains as a base problem rather than a cleaning problem. Re-sand what’s loose. Reset what’s moving. Know where the line is, because crossing it yourself can cost you the material warranty. Our technicians have up to 11 years of experience, and we’re happy to look at your driveway and tell you honestly which side of that line you’re on.
Contact
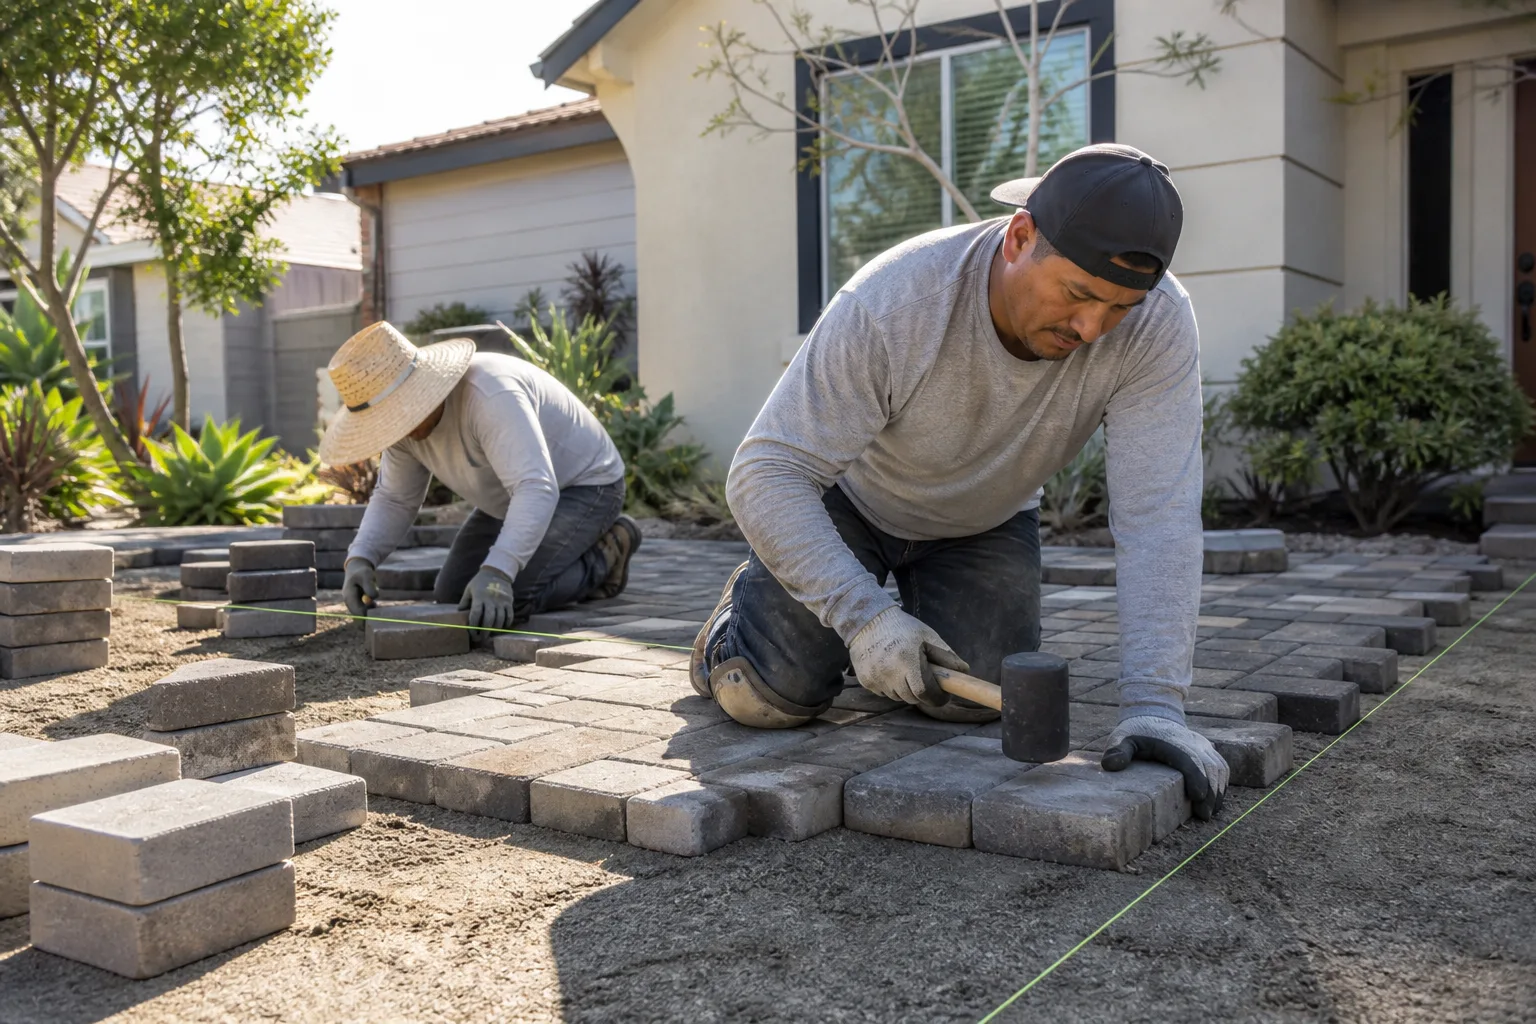
Construction Downey handles the whole property, from the driveway to the roofline, working with 50+ nationally recognized brands so you’re choosing from real options rather than whatever a single supplier carries. Paver systems come from Belgard, Unilock, Techo-Bloc, Tremron, and Cambridge Pavers, and fencing options span aluminum from Ameristar and Jerith, vinyl from Bufftech, and ornamental lines from Master Halco. One contractor across every project means fewer calls and one point of accountability.
Call (844) 312-0107 for a free estimate. We answer 24/7. Fast dispatch from 7am to 7pm, Sunday through Friday.
Written by the team at Construction Downey.
See the difference
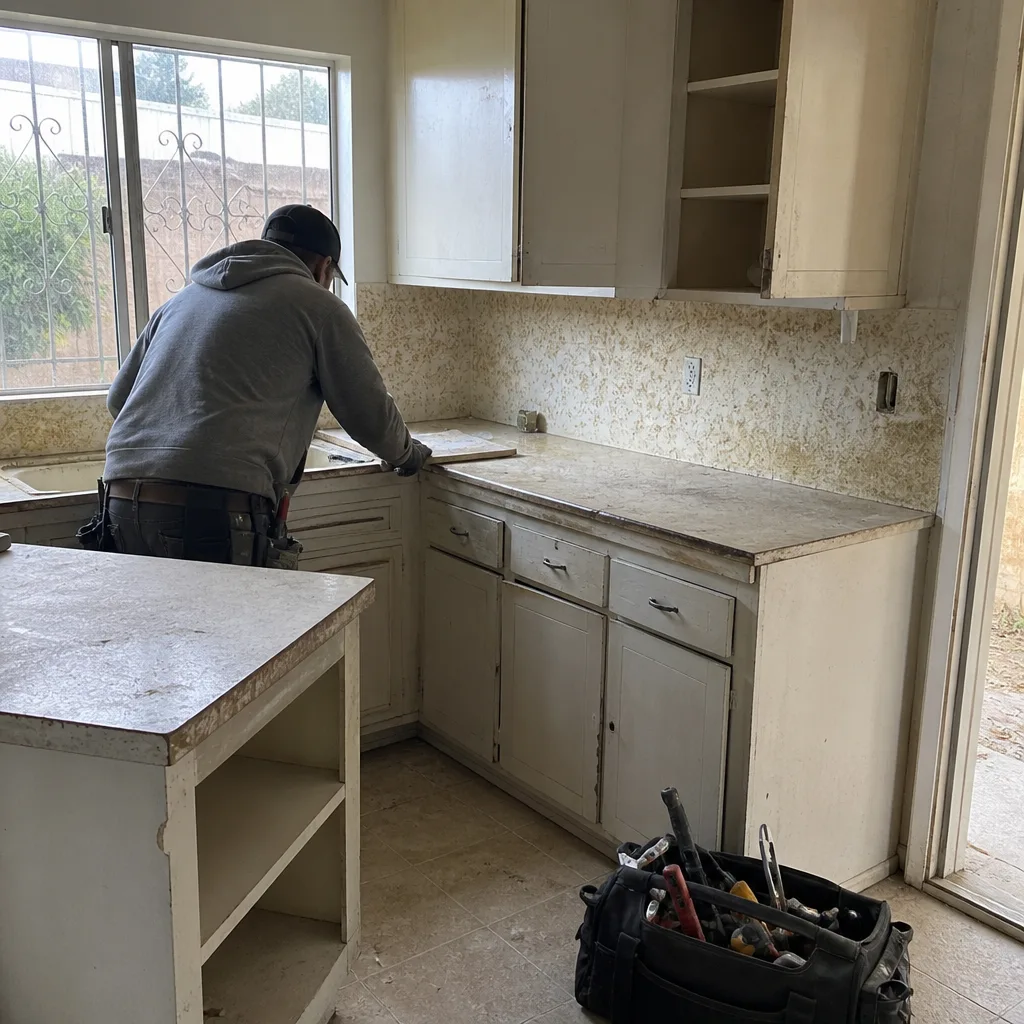 Before
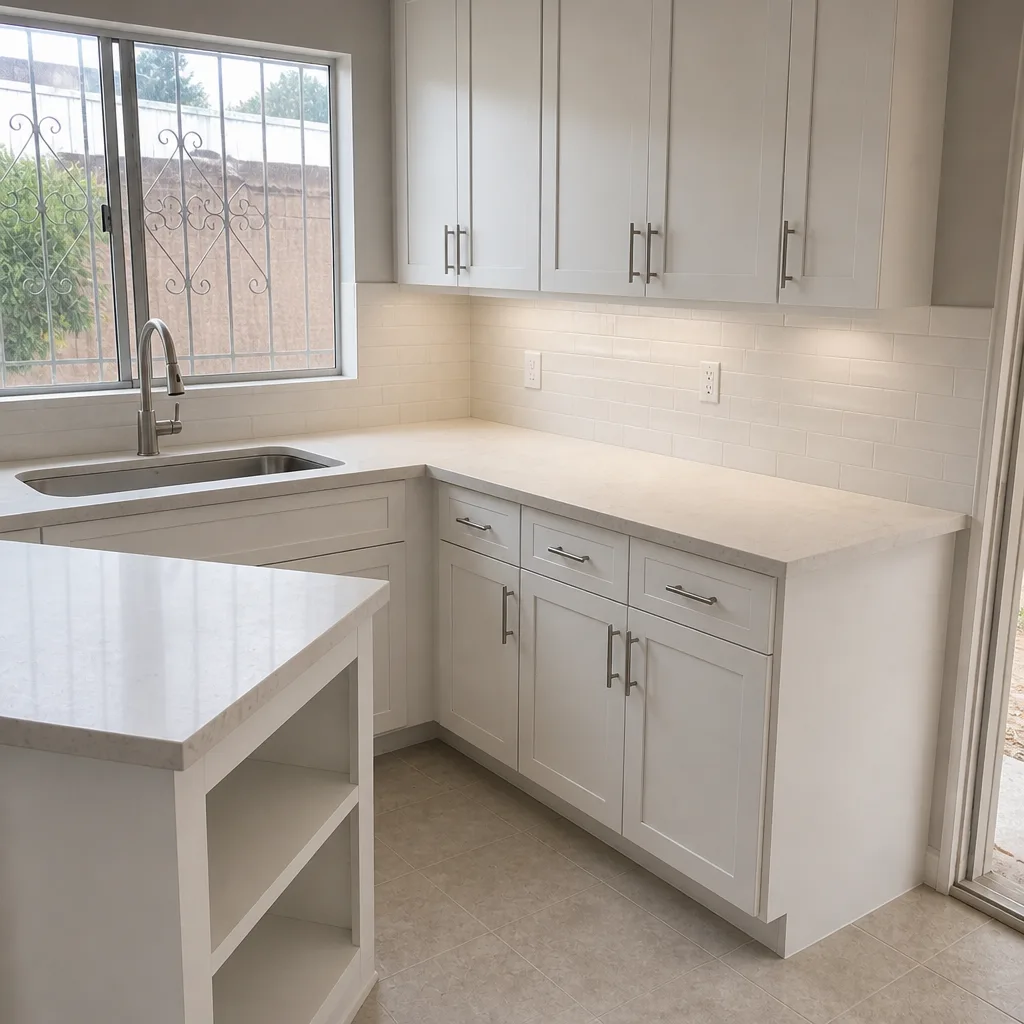 After
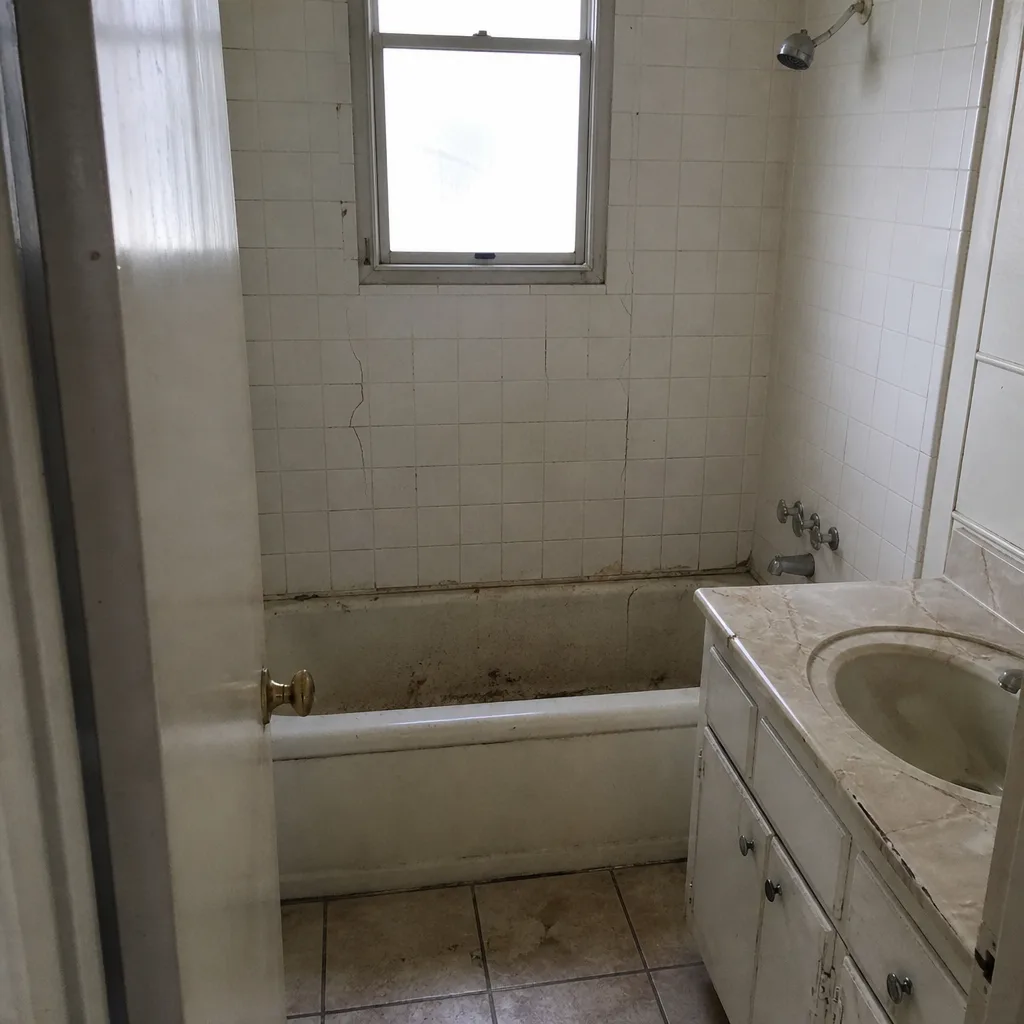 Before
 After
 Before
 After